How to connect a Windows 10 computer to the eduroam service
The wireless service enables members of the University to connect to the University network and the Internet using their own computers and devices across University sites and Halls of residence.
This guide contains instructions to connect a Windows computer to the eduroam wireless service.
You should first install the Swansea University certificate.
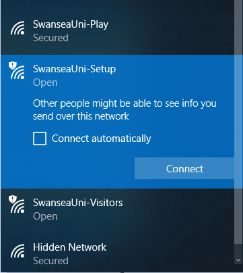
You need to be connected to the SwanseaUni-Setup network to get the certificate.
Download and install the certificate.
1. Right click the link below, and choose ‘Save link As’ and save the file to your PC
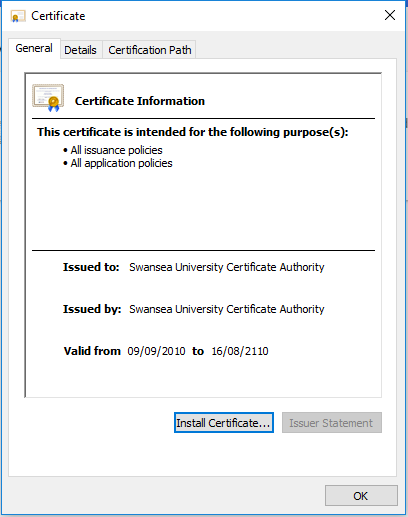
2. Navigate to where you saved the certificate to then double click the file called ‘ swansea-ca.der’
Swansea University Certificate - DER (Binary format)
3. Click, ‘Install Certificate…’
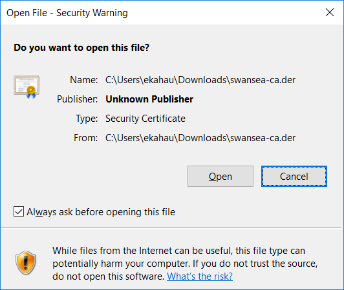
4. Click ‘Open’
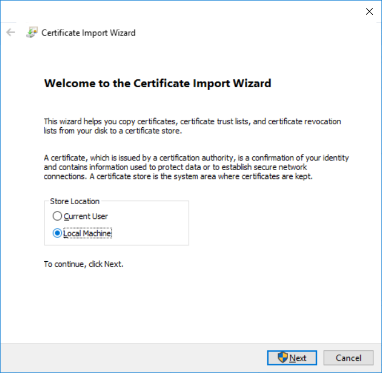
5. Select ‘Local Machine’, then click ‘Next’.
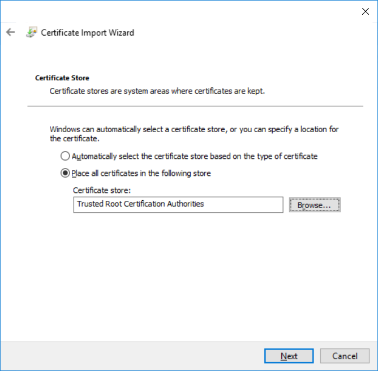
6. Select ‘Place all certificates in the following store’
7. Click ‘Browse’ and Select ‘Trusted Root Certification Authorities’
8. Click ‘Next’
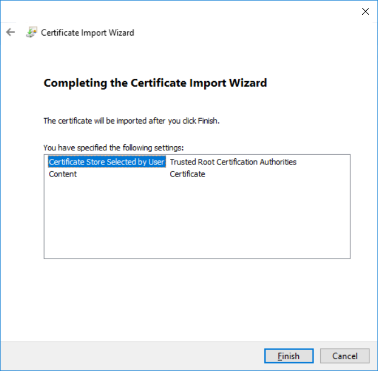
9. Click ‘Finish’
Configure Eduroam
The next thing you need to do is configure the Eduroam connection. To do this follow these steps:
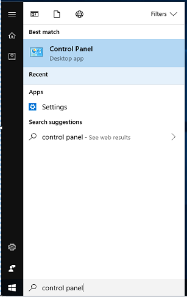
- Open the windows search box by pressing the Windows key(W) or by clicking the symbol in the bottom left of the screen and type “control panel”, select this icon.
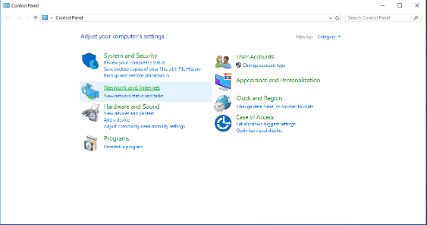
2. Click on the link ‘Network and internet’, then on the following page 'Network and Sharing Center'.
3. Once the Network and Sharing Centre has appeared, select the 'Set up new connection or network' link.
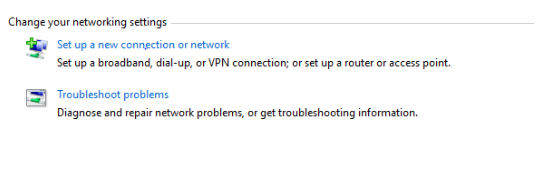
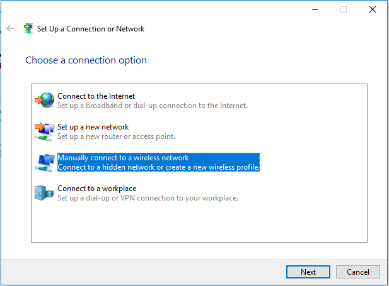
4. Click on 'Manually connect to a wireless network', as seen below:
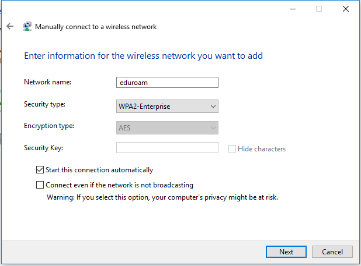
5. You now need to enter information for the connection.
6. For the 'Network Name' enter 'eduroam'.
7. For the 'Security Type' select 'WPA2 Enterprise'.
8. For the 'Encryption Type' select 'AES'.
9. Now click next.
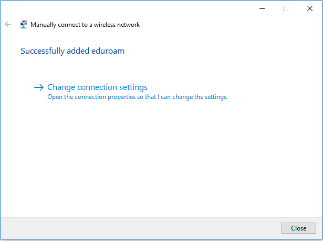
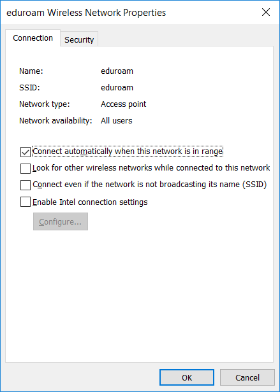
10. Click 'Change Connection Settings'.
11. Ensure that the option 'Connect automatically when this network is in range' is ticked.
12. Now click on the 'Security' tab.
13. Ensure that the 'network authentication method' is set to 'Microsoft: Protected EAP (PEAP)'.
14. Ensure that the 'Remember user credentials' tick box is ticked.
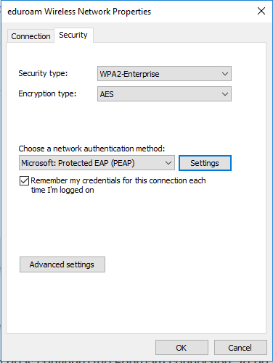
15. Now click on the 'Settings' button.
16. Ensure the 'Validate server certificate' option is ticked.
17. Ensure the 'Connect to these servers:' option is ticked.
18. In the text box under 'Connect to these servers:' enter the following:
radauth.swan.ac.uk;bouncer.swan.ac.uk;radius.swan.ac.uk
19. Ensure that the 'Swansea University Certificate Authority' certificate is ticked.
20. Ensure that the option 'Do not prompt user to authorize new servers or trusted certification authorities' is ticked.
21. Untick the 'Enable Identity Privacy' tick box if ticked.
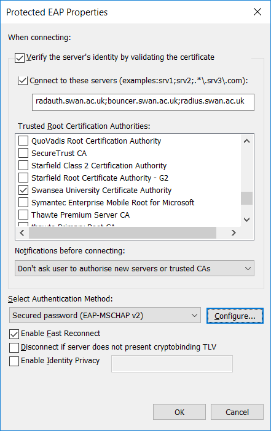
22. Now click the 'Configure' button.
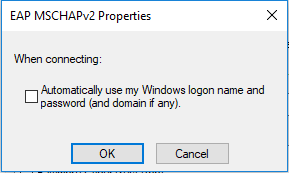
23. Untick the option 'Automatically use my Windows logon name and password'.
24. Now click 'OK'.
25. Click 'OK' again.
26. Click ‘Advanced settings’.
27. Ensure the ‘Specify authentication mode’ box is ticked.
28. Toggle the drop down box to ‘User authentication’.

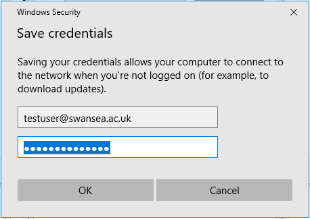
29. Click the ‘Save credentials’ button.
30. In the login window that appears enter your university email address and password and click OK.
31. Click OK, click OK again and click OK for a third time to close the ‘Network properties’ windows.
32. Click on ‘Close’ to close the ‘Manually connect to a wireless network’ window.
33. Open your Wi-Fi list and connect to eduroam.